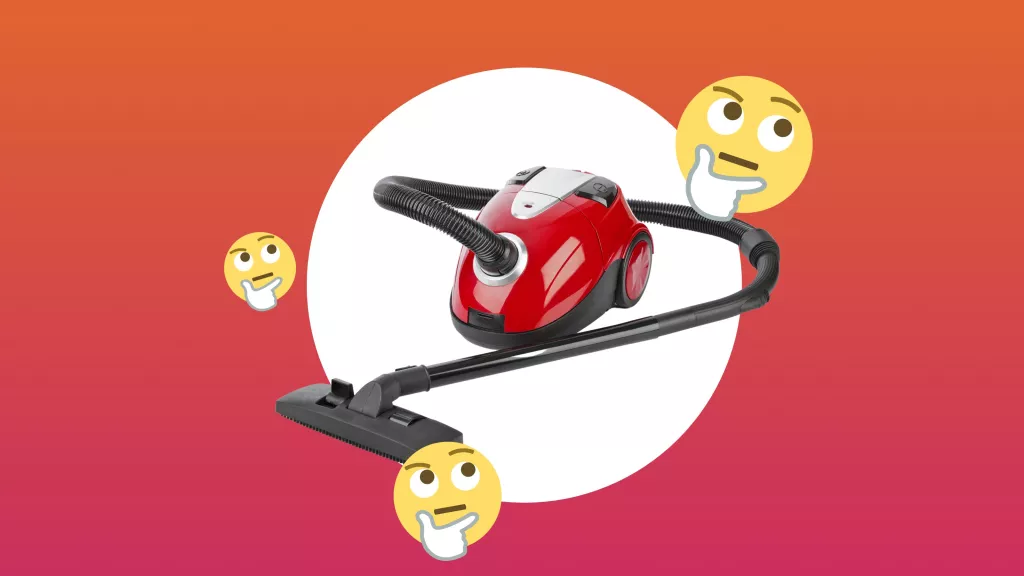
A clean and fresh-smelling home is something we all strive for, but sometimes our efforts are thwarted by an unexpected culprit: a smelly vacuum. If you’ve ever noticed an unpleasant odor emanating from your trusty cleaning companion, fear not, as you’re not alone. There are several common reasons why vacuums can develop unpleasant smells, but the good news is that most of them can be easily solved.
Why does my vacuum smell?
One common cause is a dirty or clogged filter, which can trap dust and debris and lead to odors. Another culprit could be a buildup of dirt or hair in the brush roll or nozzle. Additionally, a full or improperly sealed vacuum bag can also contribute to the problem. To tackle these smelly vacuum issues, it’s essential to regularly clean or replace the filter, clean the brush roll and nozzle, and ensure that the bag is properly installed and emptied when necessary. By addressing these common reasons, you can bid farewell to unpleasant vacuum odors and enjoy a fresh and clean home once again.
1. Dirty or Clogged Filters
One of the primary culprits behind foul odors in vacuums is dirty or clogged filters. Over time, dust, dirt, and debris accumulate in the filters, leading to a buildup of unpleasant smells. To tackle this problem:
- Start by referring to your vacuum’s user manual to locate the filters. Typically, vacuums have one or more filters, including pre-motor and post-motor filters.
- Carefully remove the filters and inspect them for dirt and debris. If they appear dirty, it’s time to clean or replace them, depending on the filter type.
- For washable filters, rinse them under running water until the water runs clear. Allow the filters to air dry completely before reinserting them into the vacuum.
- In the case of non-washable filters, consult the user manual or contact the manufacturer for appropriate replacement filters. It’s crucial to use filters that are compatible with your vacuum model.
2. Accumulated Dirt and Debris in the Vacuum Bag or Canister
Another common cause of vacuum odors is the accumulation of dirt and debris in the vacuum bag or canister. When left unattended, these trapped particles can emit unpleasant smells. Follow these steps to eliminate this issue:
- If your vacuum uses a bag, switch off the machine and carefully remove the bag. Seal it tightly to prevent any odor from spreading and dispose of it in accordance with local waste disposal regulations. Be sure to replace it with a new bag that fits your vacuum model.
- For bagless vacuums, detach the canister and empty its contents into a trash bag. Ensure that the trash bag is tightly sealed to prevent any odor from escaping. Thoroughly clean the canister with warm soapy water, rinse it well, and allow it to dry completely before reattaching it to the vacuum.
3. Dirty Brush Roll or Beater Bar
A dirty brush roll or beater bar can contribute to unpleasant odors and affect the efficiency of your vacuum. To maintain optimal performance and eliminate odors caused by a dirty brush roll:
- Turn off and unplug your vacuum to ensure safety during maintenance.
- Locate the brush roll or beater bar, typically found underneath the vacuum head.
- Gently remove any hair, thread, or debris tangled around the brush roll. A pair of scissors or tweezers can be handy tools for this task.
- Once the brush roll is free from obstructions, clean it thoroughly using a damp cloth or sponge. Be sure to dry it completely before reinstalling it in the vacuum.
4. Mold or Mildew Growth
If you notice a musty smell coming from your vacuum, mold or mildew growth may be the underlying cause. Follow these steps to address this issue:
- Firstly, ensure that your vacuum is completely dry. Moisture can promote mold and mildew growth, so allowing the vacuum to dry thoroughly is essential.
- Wearing gloves and a face mask, inspect the vacuum’s internal components for any signs of mold or mildew. Pay particular attention to areas that may retain moisture, such as the hose, dustbin, and seals.
- If you discover mold or mildew, mix a solution of equal parts water and vinegar. Dampen a clean cloth or sponge with this solution and thoroughly wipe down the affected areas. Vinegar’s natural acidity helps eliminate mold and mildew while neutralizing odors.
- After cleaning, allow the vacuum to air dry in a well-ventilated area. This will help prevent further mold or mildew growth.
- If the mold or mildew problem persists, it’s recommended to contact a professional vacuum cleaner repair service to ensure thorough cleaning and maintenance of your machine.
5. Pet Hair and Dander
Pet owners often encounter specific challenges when it comes to vacuum odors. Pet hair and dander can accumulate in the vacuum, leading to unpleasant smells. Here’s how you can address this issue:
- Regularly groom your pets to minimize shedding. Brushing them outdoors or in a designated area helps reduce the amount of loose hair and dander brought into your home.
- Prior to vacuuming, make sure to remove any visible pet hair from surfaces using a lint roller or a pet hair removal brush. This will prevent excessive hair from clogging your vacuum and emitting unpleasant odors.
- Consider using vacuum attachments specifically designed for pet hair, such as a pet hair turbo brush or a specialized upholstery tool. These attachments are designed to effectively remove pet hair from furniture, carpets, and other surfaces.
- Empty the vacuum’s dustbin or replace the bag more frequently if you have pets. This will prevent pet hair and dander from accumulating and emitting odors.
6. Regular Maintenance and Cleaning
To keep your vacuum in optimal condition and prevent odors from occurring, it’s essential to follow a regular maintenance routine. Here are some additional tips:
- Check and clean the vacuum’s air vents regularly. Blocked vents can restrict airflow and lead to odor problems. Use a soft brush or a vacuum attachment to remove any dust or debris from the vents.
- Inspect the vacuum’s hoses and attachments for any blockages or obstructions. Clear them using a long, flexible brush or by running water through the hoses to dislodge any trapped debris.
- Ensure that the vacuum’s power cord is intact and free from damage. A damaged cord can not only pose a safety risk but also affect the performance of the vacuum.
- Store your vacuum in a clean and dry area when not in use. This helps prevent the accumulation of dust, moisture, and potential odor-causing agents.
VACUUM BAG
The primary area to investigate when your vacuum cleaner emits an unpleasant odor is the location where all the dirt gathers: the vacuum bag. According to Ryan Knoll, the proprietor of Tidy Casa, “Malodorous vacuum cleaners are frequently caused by stinky bags.” He suggests replacing the bag and observing if that resolves the issue. In the case of bagless models, it is advised to empty the canister and cleanse it using soapy water. It is crucial to ensure thorough drying before reassembling the vacuum, as water can easily trap dirt and dust.
PET HAIR
While pets are undeniably adorable, their smell is far from pleasant, unless they have just been groomed at the salon. If their hair remains inside the vacuum for an extended period, it can obstruct the machine and create an even more offensive odor. Andrew Brown, an appliance repair technician at This Fixed House, advises, “Regularly clean the brush rolls, filters, and dustbin or bag.” Additionally, consider utilizing a vacuum specifically designed for pet hair removal, as they often feature specialized filters and brush rolls for enhanced performance. At Real Homes, our favored vacuum for pet hair is the Shark Stratos, which comes highly recommended by our head ecommerce editor, Annie Collyer.
CLOGGED FILTER
Alright, so you’ve examined the bag, removed any trapped hair, and yet you’re still perplexed about the source of that unpleasant smell. Now it’s time to inspect the filter. Brown explains, “Clogged filters can lead to a decrease in suction power and an unpleasant odor as trapped particles begin to decompose.” Knoll suggests cleansing the filter with soapy water and verifying if your vacuum is equipped with a HEPA filter. “Vacuums with HEPA filters necessitate regular cleaning and replacement of filters every 10-15 uses,” he elaborates. “This aspect is often overlooked but essential for maintaining a fresh vacuum.” Understood.
Maintaining a fresh-smelling vacuum is essential for efficient cleaning and a pleasant living environment. By following the tips provided in this guide, you can address the common causes of smelly vacuums and enjoy a cleaner, odor-free home.
Remember to regularly clean and replace filters, empty or replace vacuum bags, and inspect and clean brush rolls and beater bars. Be vigilant in preventing mold and mildew growth, particularly in damp environments. Additionally, address pet hair and dander accumulation promptly and follow a consistent maintenance routine to keep your vacuum in optimal condition.